I recently found a YouTube video about controlling Home Assistant by using Stream Deck: (243) Controlling Home Assistant from the Elgato Stream Deck – YouTube. A big thanks to Andy Smith sharing this with the community!
So I had to try this by myself. Here the steps which I had taken to configure the integration:
1st Step: Create Token in Home Assistant


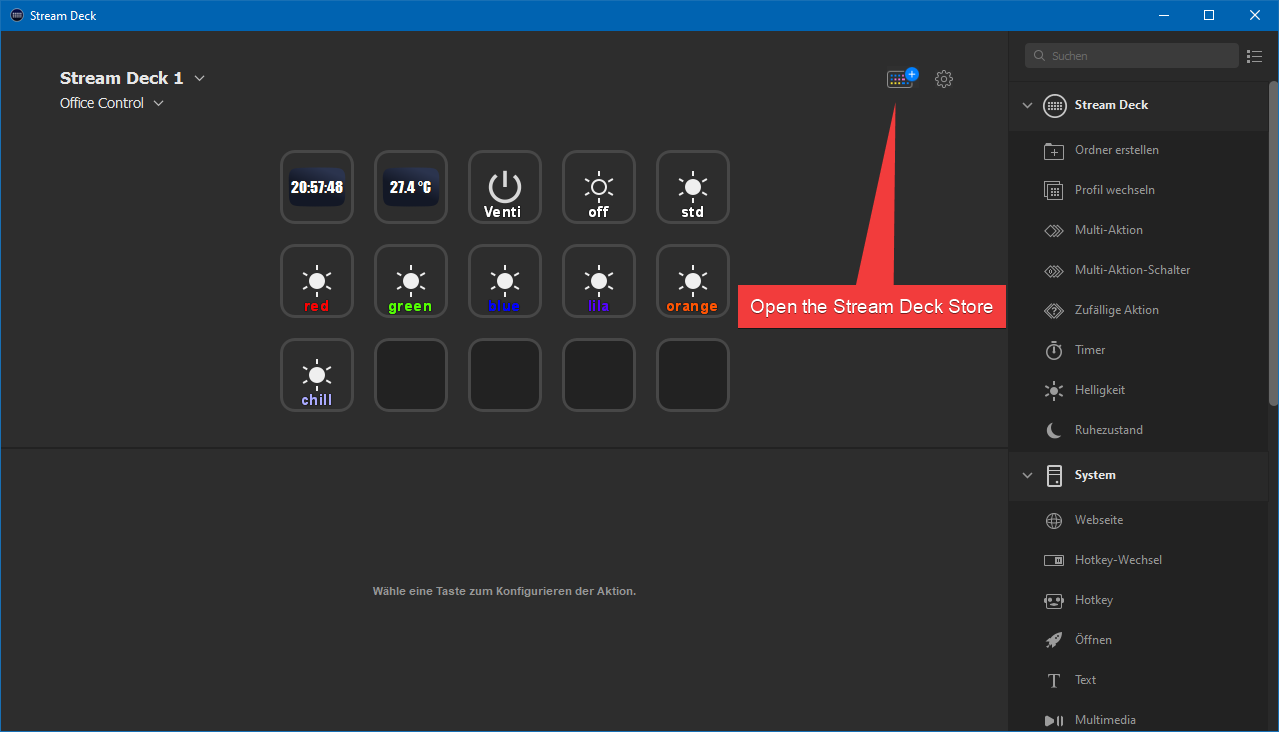
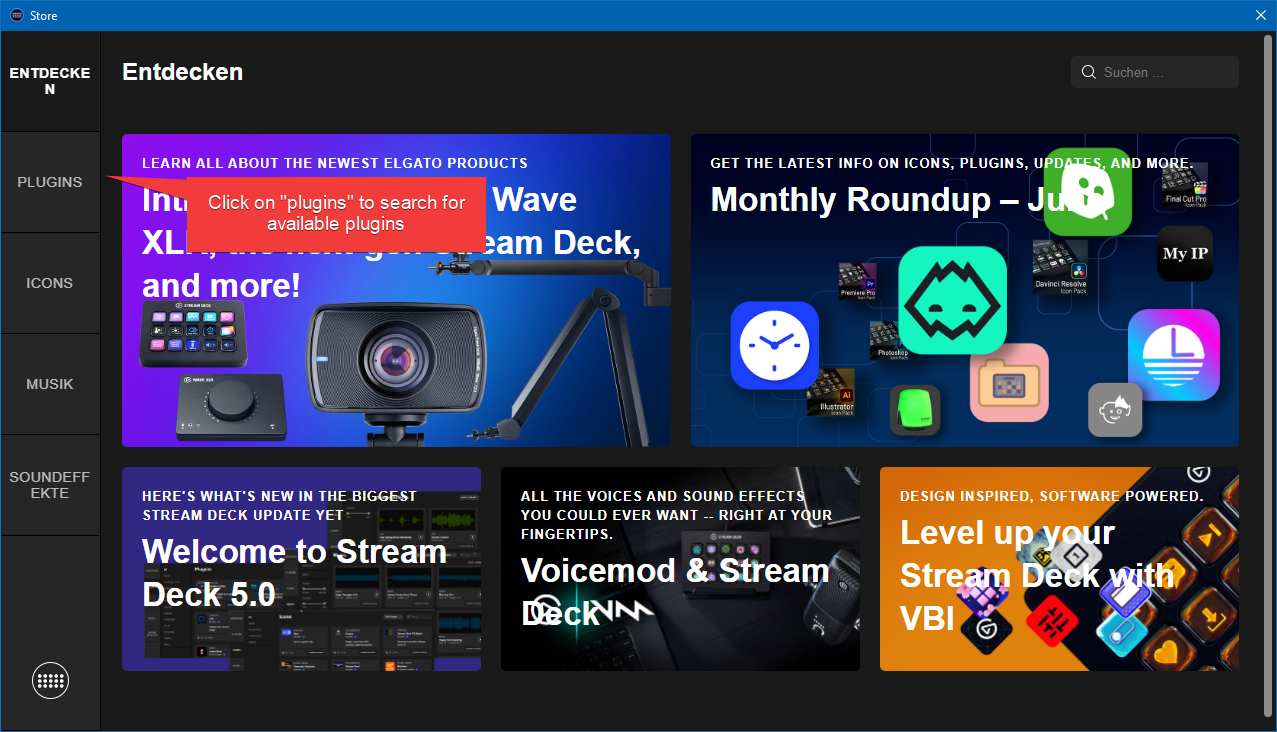
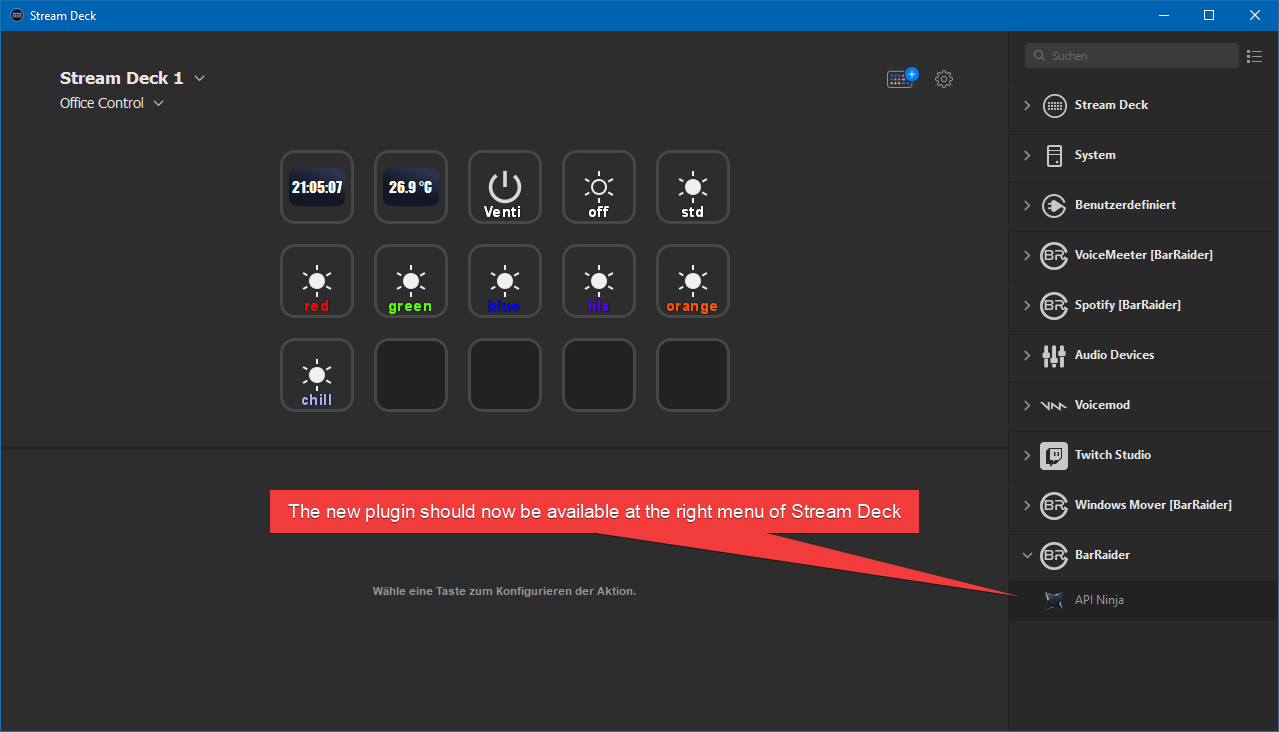
2nd Step: Download and install API-Ninja for Stream Deck

3rd Step: Configure your button for Stream Deck
Note that I will not explain how to configure icons and their behaviors here.

There are now several options which need to be configured on the API Ninja button. Here’s an overview about the configuration to be done:
| Field | Description | Parameters/Selections | Example: Toggle a scene | Example: Read Temp from sensor |
|---|---|---|---|---|
| Title | Defines the text of the button. | “your title” | <must be empty! Otherwise information will not be displayed> | |
| Request Type | Defines the type of request. Sending commands to home assistant requires the POST type. Receiving information form home assistant requires the GET type | POST or GET | POST | GET |
| API URL | The URL to your home assistant server. Ensure to mention the correct hostname or IP address followed by the according port. The paths should be pointing to the according action required from the API. The actions you will mostly need are: “toggle” , “turn_on”, “turn_off” | http://your-homeassistant-server:8123/api/services/homeassistant/toggle http://your-homeassistant-server:8123/api/services/homeassistant/turn_on http://your-homeassistant-server:8123/api/services/homeassistant/turn_off | http://your-homeassistant-server:8123/api/services/homeassistant/toggle | http:// your-homeassistant-server:8123/api/states/sensor.multisensor_office |
| Content Type | Defines the type of content to be sent/received. For home assistant it has to be set to “application/json” | always select “application/json” | “application/json” | “application/json” |
| Load data/headers from files | Disable this option | |||
| Headers | Is used to define the API request headers. Here you need to enter your token which you created earlier. Make sure to put the following text in front of the token: Authorization:Bearer | Authorization:Bearer eyJ0eXAiOiJKV1QiLC…….. (not full key mentioned here) | Authorization:Bearer eyJ0eXAiOiJKV1QiLC…….. | Authorization:Bearer eyJ0eXAiOiJKV1QiLC…….. |
| Data | This field defines the data which will be sent/received via API. Make sure to follow the JSON syntax here. The entity ID can be found in the home assistant configuration under “Entities” | { “entity_id”: “scene.office_lights_on” } | { “entity_id”: “scene.office_lights_on” } | { “entity_id”: ” sensor.multisensor_office “ } |
| Response shown | Response from API that will be shown on key. Use * to show everything, or use a JSON path such as name.firstname Not used for POST request type | <leave empty> | state (this is the path to the information) | |
| Response Type | Defines how you want to handle responses from API. | Response is text | Response is text | |
| Autorun every: | Defines if an API request should be autorun. Useful in case of GET requests. | <leave empty> | 120 seconds (or whatever interval you prefer) | |
| Save ‘Response’ shown’ to file | Helpful if you’re dealing with GET requests. Let’s you debug the information to a file. This way you can investigate on the received information. | <leave empty> |
Author
daniel.boller@email.ch